• About
  • Our Work
  • Services
  • The Boutique
  • Blog
  • Client Portal
  • *Ethos* Fancy This Or That
  • Privacy Policy
  • Cookies
TOSCANO INTERIORS
  • About
  • Our Work
  • Services
  • The Boutique
  • Blog
  • Client Portal
  • *Ethos* Fancy This Or That
  • Privacy Policy
  • Cookies
TOSCANO INTERIORS


​
​
Style the life you want. 
​The life you deserve.

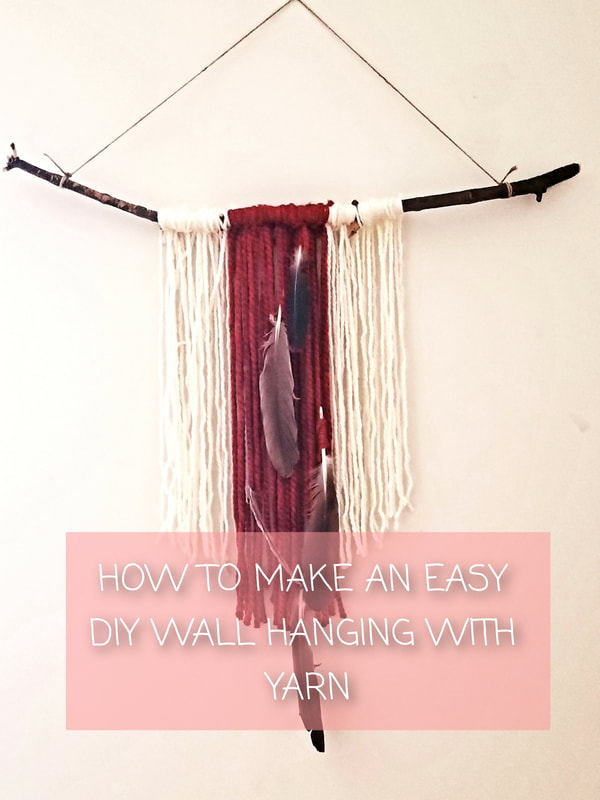
DIY Yarn Wall Hanging

1/28/2020
Picture

  • Yarn. Choose yarn in whatever colour you want! The chunkier the yarn is, the thicker your DIY wall hanging hanging will look.
  • Stick or Dowel. You can go with a thin 1/4 inch stick or dowel or a thicker 3/4 inch dowel – it depends on your aesthetic. The cream and orange hanging I did is on a thicker stick. Make sure the stick or dowel is at least 12 inches long.
  • Scissors. You’ll need some on hand as you’re going to be giving your wall hanging a haircut :)
  • Twine

STEP 1. GET YOUR SUPPLIES
Have your dowel, your yarn out, and your scissors ready to go. Here is some orange yarn if you want the same look as mine, or some chunky black yarn looks amazing too. If you want that natural, boho look then this cream yarn would be perfect. Next, take about 20" of twine and tie to each end of your stick or dowel.  This is what will hang your wall piece when it's finished.


Picture
Picture
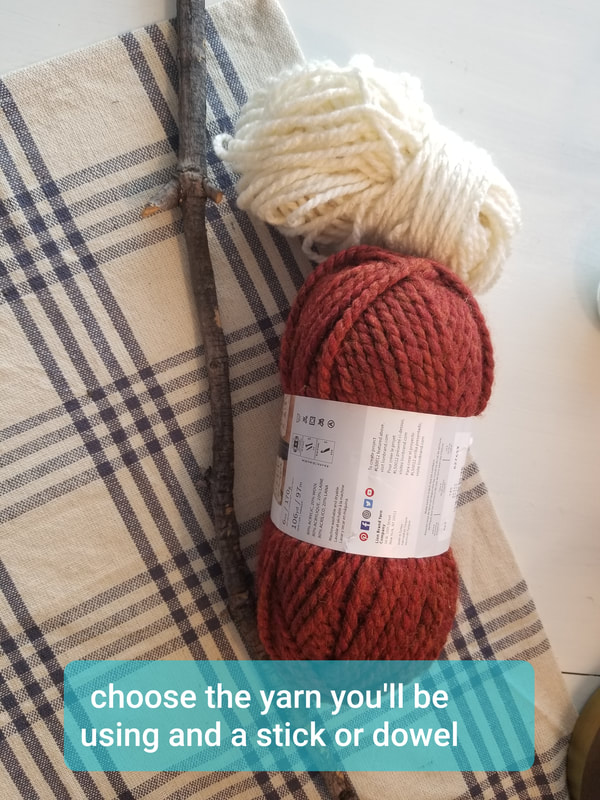
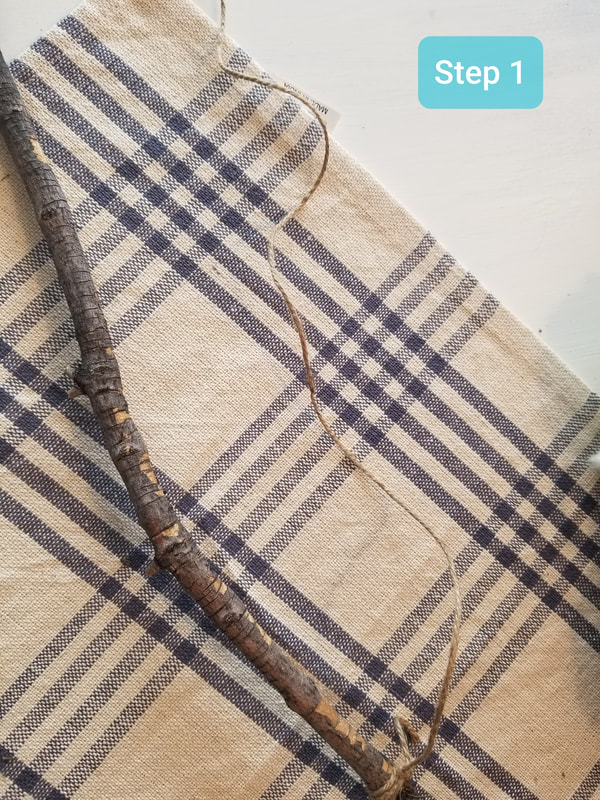
STEP 2. CREATE YARN LOOP
Grab your yarn, hold the loose end in one hand, and start to wrap the skein around your arm. Do this loop 10 times (fewer if you have really thick yarn), and cut the string after your last loop around and put the skein down.  Once you have that done, grab your scissors and snip the rest of the yarn that is wrapped around your hand. Basically, you end up with 10 pieces of yarn cut to the same length (but keep them folded in half for the next part).

STEP 2 continued. KNOT ON DOWEL

That chunk of yarn you just cut to size will make up your first yarn knot on your dowel. This step is a little tricky to write out, so it’s best to look at the photos here as you go. Basically you’re going to keep your yarn folded in half, and then set your dowel on top. Pull the yarn ends through the top loop, pulling it down tight to create a knot.
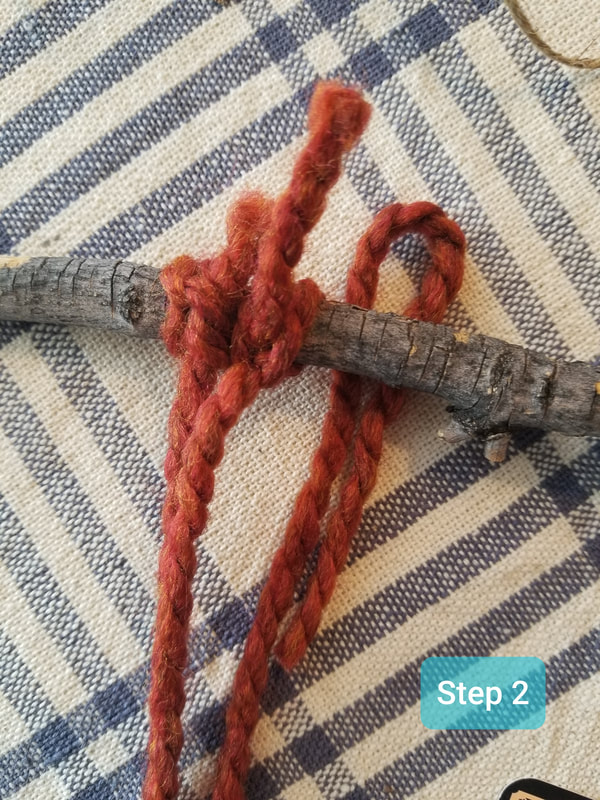
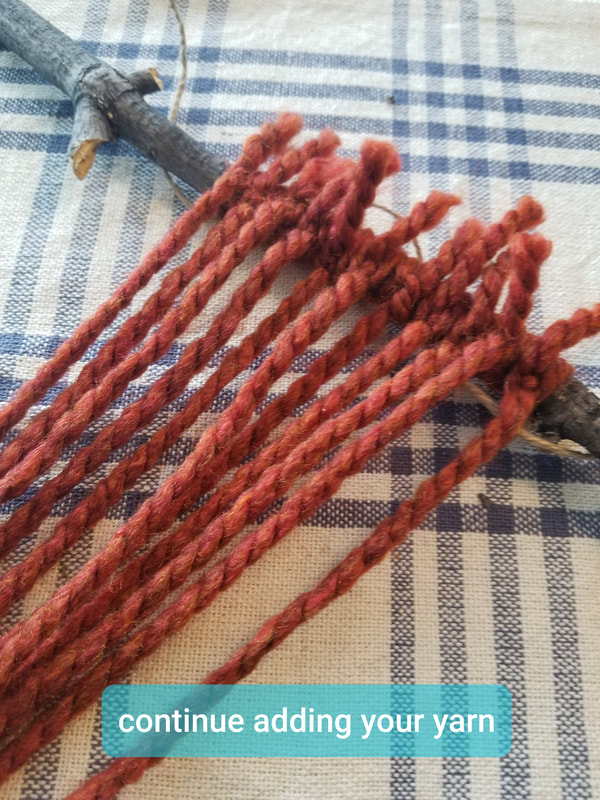
Picture
Picture
STEP 3: HAIRCUT
​Now it’s the fun part. Hang up your new wall hanging, get out your scissors, and give that bad boy a haircut. I personally like the symmetry of having it be longer in the middle and shortening out to the sides. Find the middle knot (or two middle knots if you did an even number), then cut up from there. Don’t stress about it being perfect. Cut small amounts at first, and just even it out as you go.
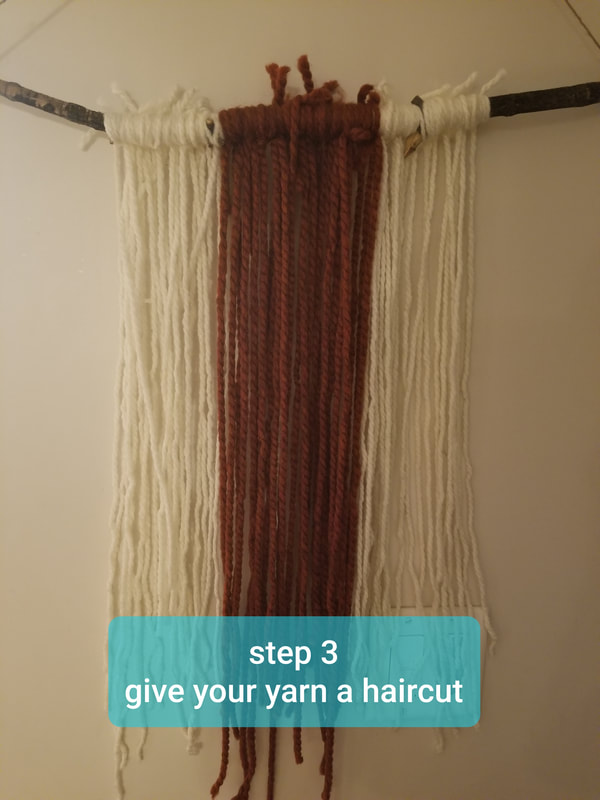
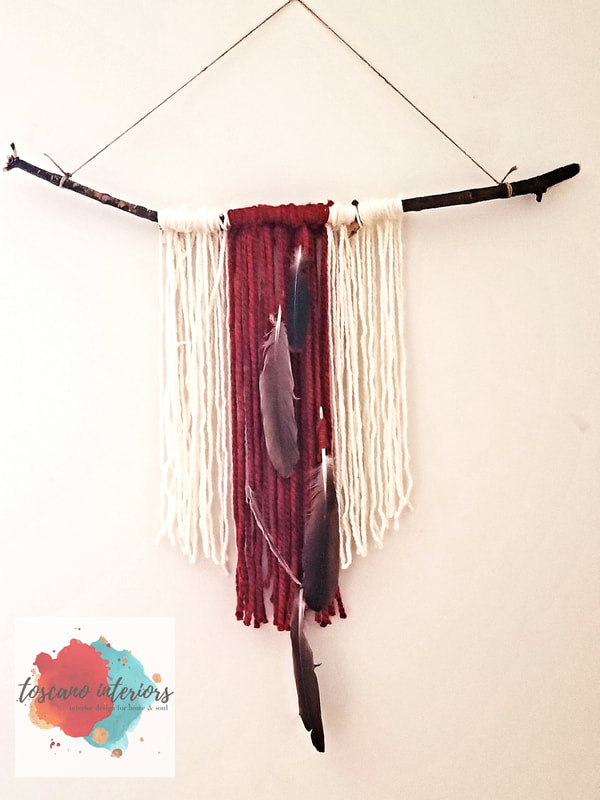
Picture
Picture
STEP 4. EMBELLISH
​The fun thing about these wall hangings is that you can embellish them however you want. This one I used feathers my youngest daughter found for me one afternoon while we were at the park.  I just weaved them in through the yarn, adding a little bit of hot glue to hold them in place.
I had some of these brass metal rings, so I played with adding some to my hangings in the past. You can use the rings to create a loop to hang them from.


Fun, right? You can also braid some of your yarn, or add in little beads. It’s fun to really personalize them.
I ended up making a bunch more of these, because they were so fun and easy to do!  I'd love to see yours if you make one, so please share on my Facebook page!

**This post contains affiliate links
​

0 Comments


Leave a Reply.

    Picture

    Author, Candance Toscano

    "You can design the life of your dreams and acquire that luxurious, fulfilled and empowered lifestyle you know you have always wanted."

    Archives

    December 2022
    September 2022
    July 2022
    May 2022
    April 2022
    March 2022
    December 2021
    November 2021
    October 2021
    September 2021
    July 2021
    June 2021
    May 2021
    April 2021
    March 2021
    February 2021
    January 2021
    December 2020
    November 2020
    October 2020
    September 2020
    August 2020
    July 2020
    June 2020
    May 2020
    April 2020
    March 2020
    February 2020
    January 2020
    December 2019
    September 2019
    April 2019
    March 2019
    February 2019
    December 2018
    November 2018
    August 2018
    July 2018
    June 2018
    May 2018
    April 2018
    March 2018
    February 2018
    January 2018

    Categories

    All
    $1 Store Crafts
    5D
    Artwork
    Authentic
    Authentic Design
    Awakening
    Bedroom Decor
    Betrayal
    Cheap Interior Design Hacks
    Chep Crafts
    Commercial Spaces
    Consultants
    Consulting
    COVID 19
    COVID-19
    Crafts
    Designers
    Design Tips
    DIY
    Diy Crafts
    DIY Interior Design
    Downsizing
    Easy Crafts
    Fall Crafts
    Family
    Feng Shui
    Functional Design
    Furniture
    Goodie Bags
    Halloween Crafts
    Health
    Holiday Decor
    Holiday Design Ideas
    Holiday Entertaining
    Home
    Home Design
    Homes For Sale
    Homestaging
    Home Staging
    Interior Design
    Interior Design For Small Homes
    Keywords: Furniture Finds: Getting The Look For Less
    Kids Crafts
    Life Coaching
    Love
    Mindfulness
    Office Design
    Organization
    Organization At Home
    Outdoor Spaces
    Podcast
    Productive Workspaces
    Real Estate Tips
    Recipes
    Sellingyourhome
    Small Spaces
    Smart Decor
    Social Distancing
    Teens Bedrooms
    Time Saving Ideas
    Travel
    Vacation
    Valentines Day
    Vintage

    RSS Feed

Contact Us

813.539.2085
819 Court Street
​Clearwater, FL 33756

Subscribe

Join our mailing list today!
Join Now

Copyright 2022